The Importance of Regular Calibration for SF6 Relay
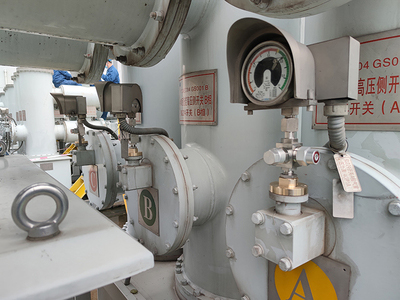
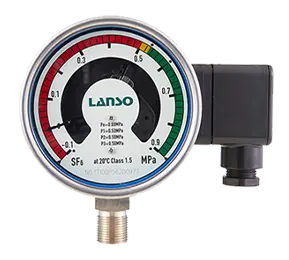
With the wide application of high-voltage electrical equipment in the power system, the SF6 relay as the key device to monitor SF6 gas density, its accuracy and reliability are crucial for ensuring the safe operation of electrical equipment. However, due to the impact of use time and environmental factors, the SF6 relay may have problems such as alarm and lockout values drifting, contact action being insensitive or failing, which pose risks to the safe operation of electrical equipment. Therefore, regular calibration of the SF6 relay is particularly important.
According to the requirements of the preventive test procedure for electrical equipment, the calibration cycle of the SF6 relay is generally 2 years, but the specific time should be set by the provincial testing institutes according to actual conditions. In the relevant requirements of the National Energy Administration, it is explicitly pointed out that the connection method between the SF6 relay and the switchgear body should meet the requirements of non-disassembly calibration density. This provides important guidance and basis for on-site calibration work.
Regular Calibration Method of SF6 Relay
The on-site disassembly of the SF6 Relay for calibration mainly checks the accuracy and correctness of the alarm and lockout pressure contact action of the density relay, the specific steps are as follows:
1.Cut off the power source of the density relay control circuit.
2.Dismantle the density relay and let it stand for 2 hours (reason for standing: to restore the elastic deformation of the sensitive component inside the pressure gauge to normal.)
3.Connect the contact socket of the density relay calibrator to the corresponding contact point of the tested density relay.
4.Use the density relay calibrator to raise the SF6 gas pressure to the rated pressure of the density relay, then slowly reduce the SF6 gas pressure until the lockout contact action of the density relay, at this time record the pressure indication value of the SF6 gas density standard table on the density relay calibrator, and record this indication value (this indication value is the pressure value at 20℃). Repeat this 3 times, take the average of the 3 indication values as the final result of the density relay lockout pressure value. According to the accuracy level of the density relay, judge whether this average value is within the accuracy range of the factory lockout pressure value. From step 3 to step 5, the whole test process takes about 20 minutes.
Conclusion: The conventional density relay calibration method increases the possibility of equipment damage and gas leakage due to frequent disassembly of the density relay, and the time required for disassembly and installation of the density relay is relatively long. Skilled personnel need about 10 minutes to disassemble and install the density relay.
In view of this problem, it is possible to consider the development of a new type of SF6 Relay calibrator, which can calibrate without disassembling the density relay. By connecting with the corresponding contact point of the tested density relay, using the calibrator to raise the SF6 gas pressure to the rated pressure, then slowly reduce the gas pressure until the lockout contact action of the density relay, record the pressure indication value and calculate the average value to get the final result of the lockout pressure value. This can avoid unnecessary losses and errors caused by frequent disassembly of the density relay, and improve the accuracy and reliability of the calibration.


