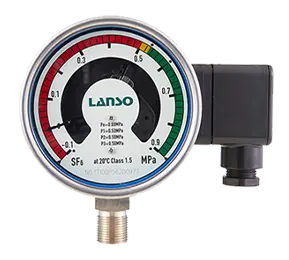
Currently, the SF6 relay is mainly calibrated at room temperature, and it is unable to accurately evaluate the temperature of the relay under extreme conditions. When the environmental temperature becomes unbalanced due to a decrease, it will affect the temperature compensation performance and cause abnormal situations in the SF6 relay. Especially in many regions, when suddenly encountering extremely low temperatures, it is often the case that the SF6 relay will lock and alarm. Therefore, it is of great significance to calibrate the data of the SF6 relay under extreme temperatures and develop a reasonable calibration device.
Problems in low-temperature calibration of SF6 relays
Currently, major power plants, power supply companies, large industrial plants, and other units have gradually begun to attach importance to the importance of the calibration system for SF6 gas density relays and have gradually started to popularize their use. Many power supply companies and other units have equipped SF6 gas density relay testing and calibration devices. However, most SF6 gas density relay testing devices can only calibrate the density of SF6 gas at normal temperatures. When encountering extreme environments, various problems will arise. The main problems are as follows:
First, due to quality problems with the calibration equipment, temperature compensation errors occur, resulting in significant errors that cannot be discovered at normal temperatures;
Second, due to imperfect design structure of the calibration equipment, the relay will fail to function properly in extremely low temperatures, and this problem cannot be discovered at normal temperatures;
Third, due to the lack of stability in material performance, zero drift occurs over time, especially in low-temperature environments, resulting in further increased errors.
Inspection of SF6 relays in low-temperature environments
Compared to ordinary inspection methods, the low-temperature inspection of SF6 gas density relays mainly focuses on different temperature control. For example, when conducting calibration in an environment below -40℃, it is necessary to use a constant temperature control box (high and low temperature chamber) to create a temperature environment and maintain a constant temperature. Then, the relay is placed in this environment and tested using a calibration table. Finally, the switching difference and the action value error of the contacts are determined based on the feedback information from the relay.
The specific inspection measures are as follows:
1. For each group of contacts, measurements are made separately in the high and low voltage states, including pressure values when the contacts are closed and when they are opened;
2. Before switching the contacts, voltage should be raised or lowered, and the process should be smooth. The pressure value of the standard gauge is read at the moment of contact switching;
3. When calculating the action value error, it is necessary to compare the nominal value and the pressure value throughout the entire pressure change process, including over-voltage alarm, lockout, and low-voltage alarm. At the same time, accuracy errors and switching differences should meet the requirements of relevant technical parameters.


